Appointment Sheet Configuration
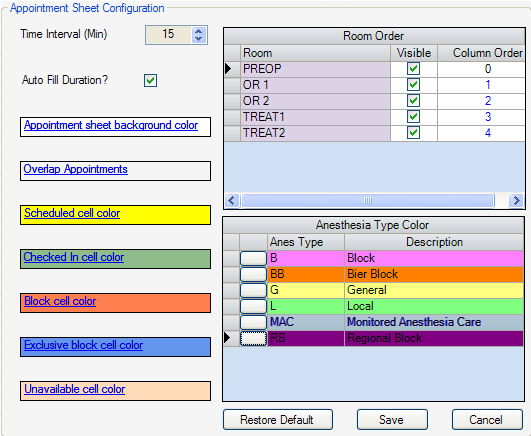
The Appointment Sheet Configuration is accessed by clicking the  Check Mark button in the lower left corner of the Appointment Sheet. This is where the time intervals can be set for the appointment sheet, visible rooms can be selected and/or rearranged, and colors changed .
These settings are user specific, so each user can configure the Appointment Sheet how they like.
Remove a room from the appointment sheet
Uncheck the Visible check box for any rooms that should not be displayed on the appointment sheet and click  .
.
Change the order of rooms
Use Column Order to put the rooms in the desired order. Start with zero (0).
Change the colors
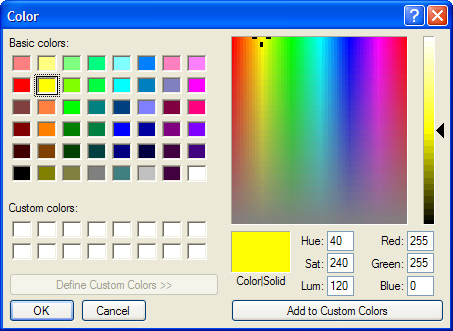
Clicking on the colored cells will open the Color selection window (shown below).
Anesthesia Type colors
To open the Color selection window for Anesthesia Type Colors, click on the grey box to the left of the Anes Type. The selected Anesthesia Type colors will display on the Appointment Sheet until the appointment is checked in, at which time the "Checked In cell color" will display.
Anesthesia Type Colors for Center
Scheduling > Appointment Sheet Configuration
In the Global Color section, select colors for each action or Anesthesia type that displays on the appointment sheet for the center.
NOTE: Global Appointment Sheet Configuration must be set in Center Configuration to enable this function
